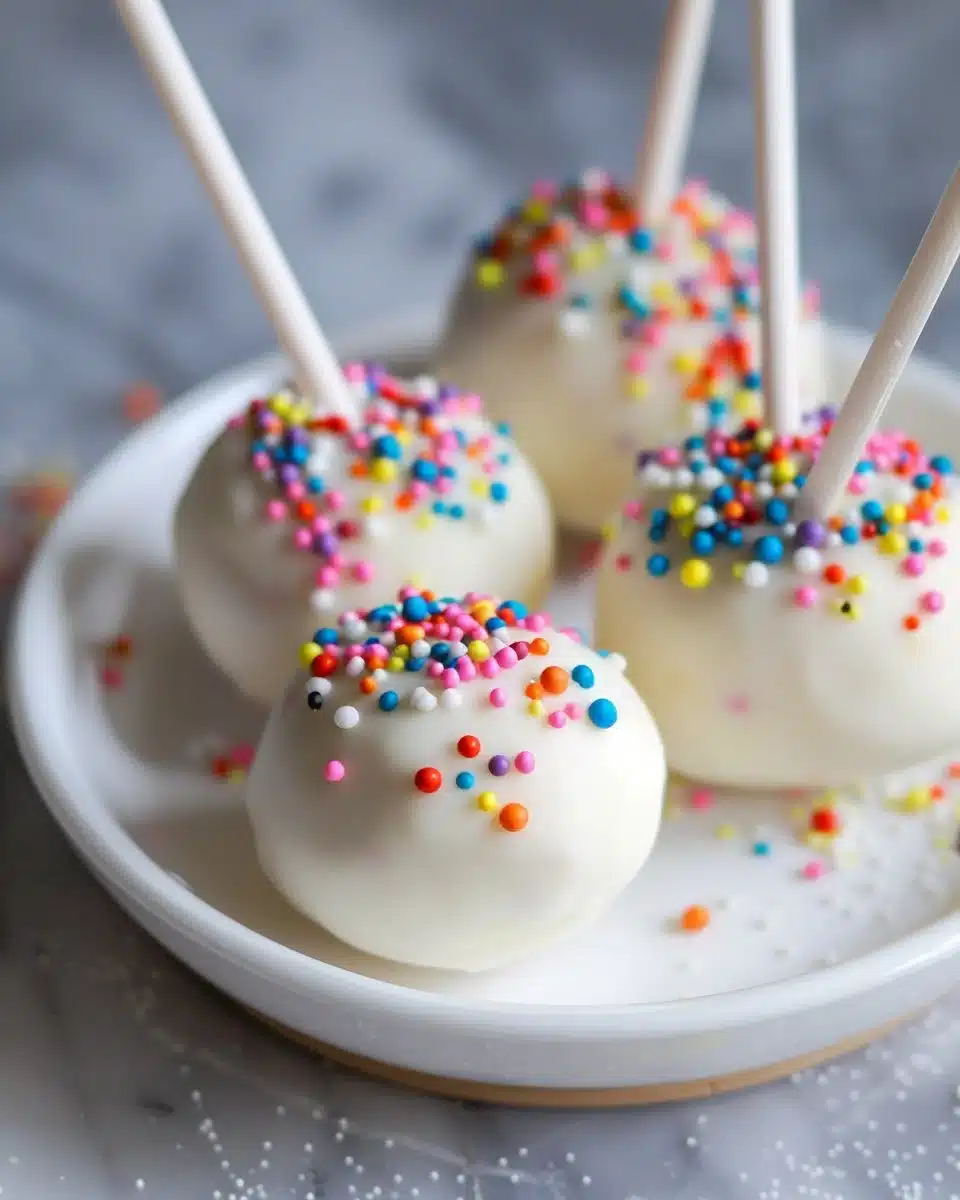
Pin by Stephanie Neff on Mmm, mhmm. | Easy Cake Pop Recipe
If you’re looking for a fun and delightful treat that brings smiles to everyone, look no further than this easy cake pop recipe! These bite-sized confectioneries not only taste delicious but also inspire creativity with their endless decorating possibilities. Perfect for parties, birthdays, or just a sweet afternoon snack, these cake pops are sure to be a hit with kids and adults alike. Whether you’re celebrating a special occasion or simply enjoying a weekend bake, this recipe is your ticket to confectionery success!
Baking can be a wonderful way to create memories, and these cake pops are no exception. With their vibrant colors and customizable toppings, each bite is a delightful surprise. Plus, they’re easy to make and can be prepped in advance, making them a perfect solution for busy hosts or those needing an impressive homemade treat without the hassle. Let’s get started on creating these scrumptious morsels!

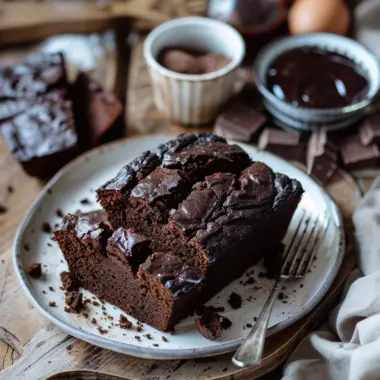
This is what the finished dish looks like when perfectly baked.
Ingredients
- 1 box of cake mix (any flavor)
- 3 eggs
- 1/2 cup of vegetable oil
- 1 cup of water
- 1 container of frosting (any flavor)
- Candy melts or chocolate for coating
- Sprinkles, nuts, or other toppings (optional)
- Lollipop sticks or straws
Gather all your ingredients for an easy baking experience.
Directions
-
Bake the Cake: Preheat your oven according to the instructions on the cake mix box. In a large mixing bowl, combine the cake mix, eggs, vegetable oil, and water. Mix until smooth. Pour the batter into a greased cake pan and bake as directed. Allow the cake to cool completely.
-
Crumble the Cake: Once cooled, crumble the cake into a large bowl until it resembles fine crumbs.
-
Add Frosting: Gradually mix in the frosting, starting with 1/4 cup and adding more as needed until the mixture holds together but isn’t too wet.
-
Form the Balls: Using your hands, roll the mixture into small balls about 1 inch in diameter, and place them on a baking sheet lined with parchment paper.
-
Melt the Coating: In a microwave-safe bowl, melt the candy melts or chocolate according to the package instructions until smooth.
-
Dip the Sticks: Dip the ends of the lollipop sticks into the melted coating and then insert them into the cake balls. This helps them stay secure.
-
Chill the Pops: Refrigerate the cake pops for about 30 minutes to set.
-
Coat the Cake Pops: Once set, dip each cake pop into the melted coating, allowing any excess to drip off.
-
Decorate: Before the coating sets, roll the pops in sprinkles or other toppings if desired.
-
Let Set: Place the decorated cake pops upright in a block of styrofoam or a cake pop stand to harden completely.
Tips & Variations
-
Ingredient Substitutions: You can use any cake mix you prefer and different frosting flavors to match. For a healthier option, try using yogurt instead of frosting.
-
Optional Variations: Experiment with different coatings such as white chocolate or colored candy melts, and try adding flavor extracts for an extra kick (e.g., peppermint or almond).
-
Storage Tips: Keep your cake pops in an airtight container at room temperature for up to 3 days, or in the fridge for up to a week. For longer storage, place them in the freezer; they can be enjoyed later after thawing.
Recipe Information
- Prep Time: 20 minutes
- Cook Time: 30 minutes
- Total Time: 1 hour (plus chilling time)
- Servings: About 20 cake pops
- Difficulty Level: Easy


Easy Cake Pops
Ingredients
- 1 box box of cake mix (any flavor)
- 3 large eggs
- 1/2 cup vegetable oil
- 1 cup water
- 1 container container of frosting (any flavor)
- 1 Candy melts or chocolate for coating
- Sprinkles, nuts, or other toppings (optional)
- 20 Lollipop sticks or straws
Method
- Preheat your oven according to the instructions on the cake mix box.
- In a large mixing bowl, combine the cake mix, eggs, vegetable oil, and water. Mix until smooth.
- Pour the batter into a greased cake pan and bake as directed.
- Allow the cake to cool completely.
- Once cooled, crumble the cake into a large bowl until it resembles fine crumbs.
- Gradually mix in the frosting, starting with 1/4 cup and adding more as needed until the mixture holds together but isn't too wet.
- Using your hands, roll the mixture into small balls about 1 inch in diameter, and place them on a baking sheet lined with parchment paper.
- In a microwave-safe bowl, melt the candy melts or chocolate according to the package instructions until smooth.
- Dip the ends of the lollipop sticks into the melted coating and then insert them into the cake balls.
- Refrigerate the cake pops for about 30 minutes to set.
- Once set, dip each cake pop into the melted coating, allowing any excess to drip off.
- Before the coating sets, roll the pops in sprinkles or other toppings if desired.
- Place the decorated cake pops upright in a block of styrofoam or a cake pop stand to harden completely.